
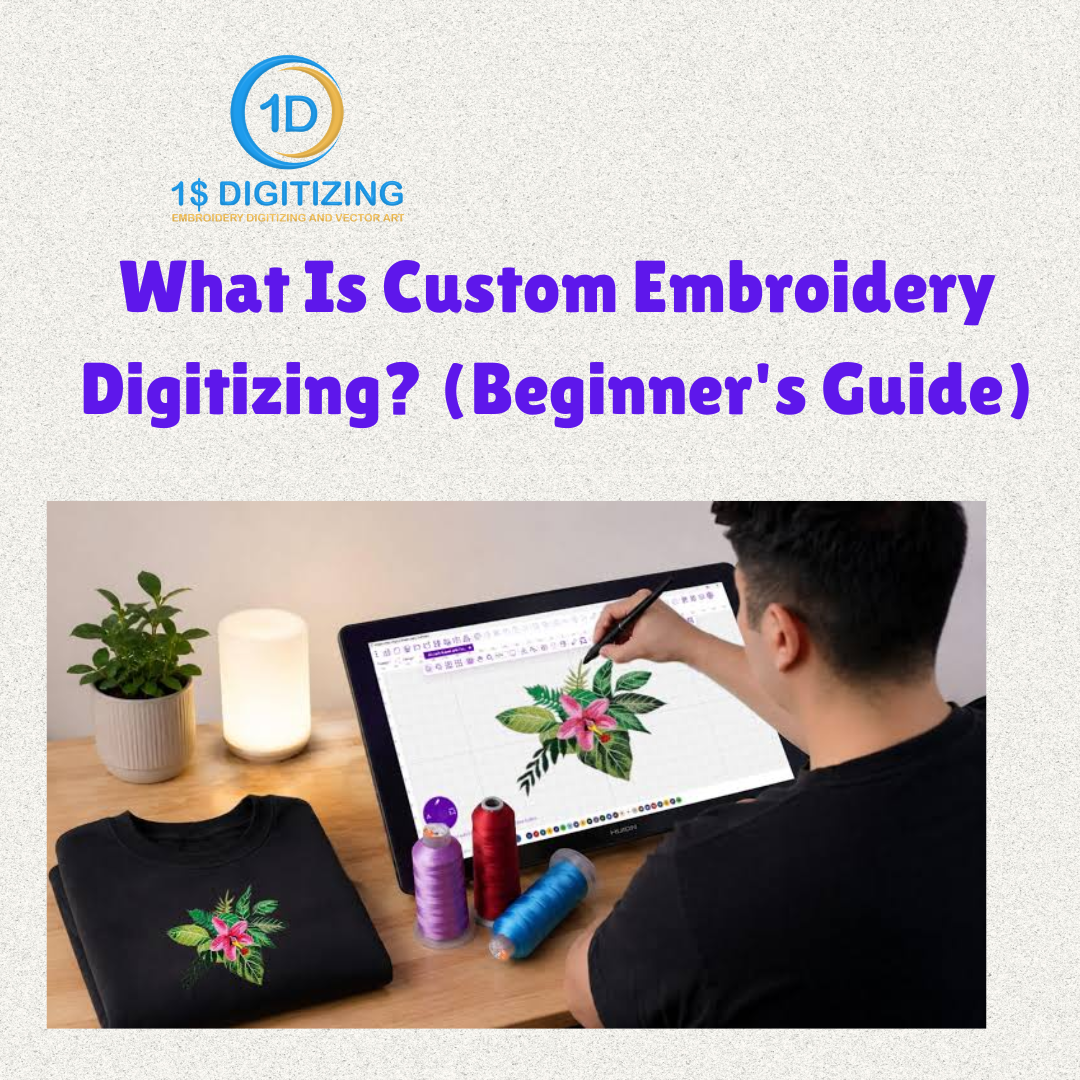
What Is Custom Embroidery Digitizing? (Beginner's Guide)
So, you just heard the term "embroidery digitizing." Maybe a shop asked for your logo file, out of nowhere. Or you stumbled on it while browsing for stitched shirts. Either way, you're probably scratching your head right now.
Don't sweat it. This guide breaks it down in plain, everyday words. By the end, you'll get what digitizing actually means. And you'll see why it matters. Especially if you're planning to use Custom Embroidery Digitizing for your own logo.
The Simple Definition
Embroidery digitizing turns a picture into a stitch file. Sounds fancy. It's really not. This file tells a machine what to do. Where to stitch. Which thread to grab. When to move on.
No file, no stitching. Simple as that. A machine needs clear, step-by-step instructions to work with at all. That's the whole point of digitizing.
Why Regular Pictures Don't Work
Ever wonder why you can't just email a photo of your logo to a machine? Here's the deal.
Pictures Are Just Colors and Shapes
A JPG or PNG shows colors on a screen. That's it. Nothing else. No stitch info hiding in there anywhere. A machine can't just look at colors and magically spit out thread.
Machines Need Real Instructions
Think of an embroidery machine as a super literal helper. Won't guess what you want. Ever. It needs a real plan, stitch by stitch, start to finish. That plan? It's your digitized file.
How Does the Digitizing Process Work?
Let's walk through this together. Step by step. You'll see exactly how a logo becomes a real, stitched design.
Step One: Your Artwork Gets Reviewed
A digitizer studies your logo closely. Shapes. Text. Every tiny detail, honestly.
Step Two: Stitch Paths Get Planned
Next up, they figure out how each part gets stitched. Satin stitch here. Fill stitch there. Depends on shape and size.
Step Three: The File Gets Created
Using special software, the digitizer builds the actual stitch file. Every line. Every letter. Mapped out with real care, not rushed.
Step Four: The File Gets Tested
Plenty of digitizers run a quick test stitch first. Catches mistakes early. Way before they turn into bigger, costlier problems.
Step Five: You Receive Your File
Once it checks out, you get your finished file. Ready to load right into your machine. No extra steps on your end at all.
Common Words You Will Hear
Digitizing's got its own little vocabulary. Worth knowing a few terms here.
Stitch Count
Total number of stitches in a design. That's it. More detail usually bumps this number way up.
Satin Stitch
Great for text and thin lines. Gives that smooth, shiny finish people like.
Fill Stitch
Covers bigger areas. Think the background of a shape. Fills the space with rows of thread.
Underlay
A layer of stitches placed underneath the main design. Keeps fabric stable. Keeps everything looking clean overall.
Who Actually Needs Digitizing?
You might figure this is only for huge embroidery companies. Nope. Not even close, honestly.
Small Business Owners
Want your logo on staff shirts? Or jackets? You'll need a digitized file first. No way around it.
Sports Teams and Schools
Team names. Numbers. Mascots. All of it needs digitizing before it hits a uniform.
Home Sewers and Hobbyists
Even folks with home machines need digitized files for custom work. Yes, even hobbyists.
Event and Promotional Businesses
Custom hats, bags, event gifts, they all start life as one thing: a digitized design.
Do You Need Any Special Skills to Order This?
Nope. Not at all. Honestly, that's one of the best parts of using a digitizing service. Zero technical knowledge needed on your end, period.
All You Really Need
Just a clear image of your logo. That's basically it. Knowing your machine's brand helps too, so you get the right format.
The Rest Is Handled for You
A skilled digitizer takes the technical stuff off your plate, completely. They study the design. Plan the stitches. Build the file. You just wait for it to land in your inbox.
What Makes a Good Digitizing Job?
Not every digitized file turns out the same. Trust me on that one. Here's what separates the good from the bad.
Clean, Accurate Stitching
A well-digitized file stitches out smooth. No puckering anywhere. No loose threads hanging around either.
Readable Small Details
Even tiny text or fine lines should stay crisp. Readable once it's stitched onto real fabric.
Correct File Format
A good digitizer sends the right file type for your exact machine. No compatibility headaches down the line. Small detail, big difference.
Common Beginner Mistakes to Avoid
New customers trip up on a few things, pretty often actually. Here's how you dodge them.
Sending a Blurry Image
Always send the clearest image you've got. Blurry logos make fine details way harder to nail down.
Forgetting to Mention Your Machine Type
Different machines need different formats. Period, no exceptions. Share this detail with your digitizer early. Save yourself the hassle later.
Skipping Questions Before Ordering
Unsure about something? Just ask. Before you order, not after. A good service will walk you through it, no problem.
Assuming Every Service Offers the Same Quality
Not every digitizing service works the same. Not even close, really. Some lean entirely on automated software. Others rely on real, experienced people. A quick review check, or one simple question about their process, can save you from a pretty rough result.
Final Thoughts
Custom embroidery digitizing sounds technical at first. Sure. But really? It's just turning your artwork into real, stitched instructions for a machine to follow. Takes genuine skill on the digitizer's side. But for you, the customer? It stays refreshingly simple.
Now you get the basics. So go order your next design with real confidence. Business logo, team gear, personal project, whatever it is. A well-digitized file makes all the difference in how the final product turns out.
Working on this yourself? See logo digitizing and custom embroidery digitizing.
Ready to digitize your design?
Professional embroidery digitizing from $1 — 24-hour turnaround, all machine formats, free revisions.